Google+ Sign-In on the Android Chromium WebView
During the development of the new Chromium powered Android WebView, Internet celebrity Matt Gaunt showed me some rather interesting demonstrations. This included integrating with Google Play services, in the form of letting the user natively sign-in from the WebView. Now all the changes are publicly available I had to try such a thing myself, and found it surprisingly straightforward!
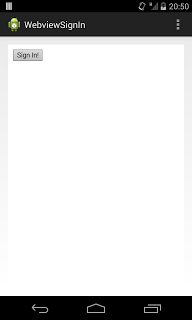
The first step is to actually create the HTML that we’ll be using. While it would be possible to use the Google+ Javascript SDK to make API calls and so on, I couldn’t actually think of a good reason to do so. What feels like a more general use case is presenting data retrieved through the API calls in the native SDK, which is how we’ll structure it. This is what my test page looks like, which is saved as part of my Android project in assets/index.html.
Two things are of note here. First, we define a callback to be triggered after a sign-in. Second, we make two calls to MainActivity" one to indicate the document is ready to be interacted with, and one to trigger a sign-in process. This is what we’ll need to support in our Android activity.
The first step to do that is to initialise our WebView. Its included in the activity by adding it to the layout file:
Next we need to configure it. We do this by finding the view, and setting some key parameters.
Firstly, we enable Javascript. By default this is disabled, which makes sense if you’re just using the view to display some HTML formatted contents, but for our case we need to turn it on. Next we add a Javascript interface pointing to a class which we’re about to define. The second argument to addJavascriptInterface tells the WebView how to to expose it within the page, which is why our calls in the HTML snippet start with MainActivity. Finally, we load the HTML file.
Half the magic then happens within this SignInInterface, which we define as a private class:
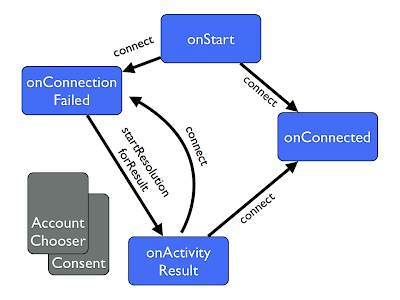
We define the two calls which we are exposing to our page, documentReady and signIn. Both are annotated with @JavascriptInterface, which makes them eligible for inclusion in the WebView. The documentReady method just kicks off a connect, or if the PlusClient is already connected triggers the callback to the WebView. The sign-in method resolved the ConnectionResult retrieved from a onConnectionFailed callback, as with a regular sign-in flow on Android. When the Javascript sign-in method is called, the call is forwarded to our class here, and we prompt the user for consent.
When that happens, we’ll get the normal onConnected or onConnectionFailed callbacks. The onConnected is the one we really care about, and as in the documentReady case, we’ll just call the signalWebview method we're about to define on our activity.
The signalWebview method is where we make the callback to the WebView itself. This works by evaluating a Javascript string that we construct within the context of the view's Javascript thread. This uses evaluateJavscript, one of the new methods in KitKat that really make it easy to work with the WebView.
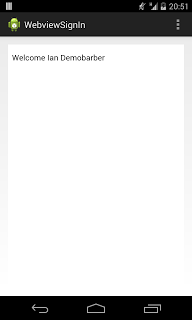
In this case we evaluate a call to the handleSignIn method, which passes the display name of the connected user. Its worth noting there's absolute no escaping on this, so if the user had a ' in their name, things would go wrong. Since a real app is likely to want multiple pieces of data, it would probably make sense to JSON encode the lot before passing it to the WebView.
The documentReady method in our Javascript lets us know that this function has been defined - otherwise we might get an onConnected callback before the Javascript function has been interpreted, so our evaluateJavscript call would fail to pass the information correctly. As it is, it works either way, and we can easily sign-in and retrieve data from our WebView.


You can read more about using the new features in the WebView in the Chrome documentation and the WebView class documentation.
